Old printers like the HP deskjet 500 series are descarged often. These printers still have nice parts that can be used for all kind of different projects. After many parts were used to build a 3D printer we were looking for a user interface for a LEGO project and found the old buttons and lights back. This page describes how this user interface can be used with an Arduino.
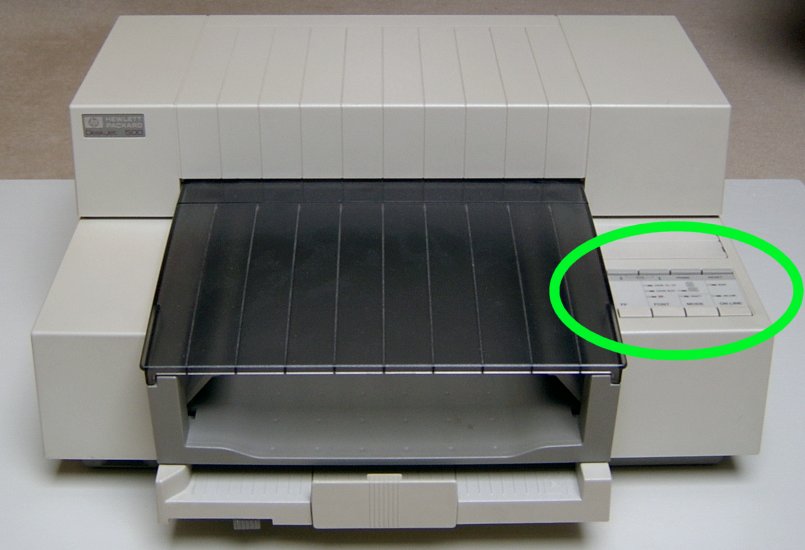
In most HP deskjets the buttons and LEDs are located on the right side of the printer (see photo below).
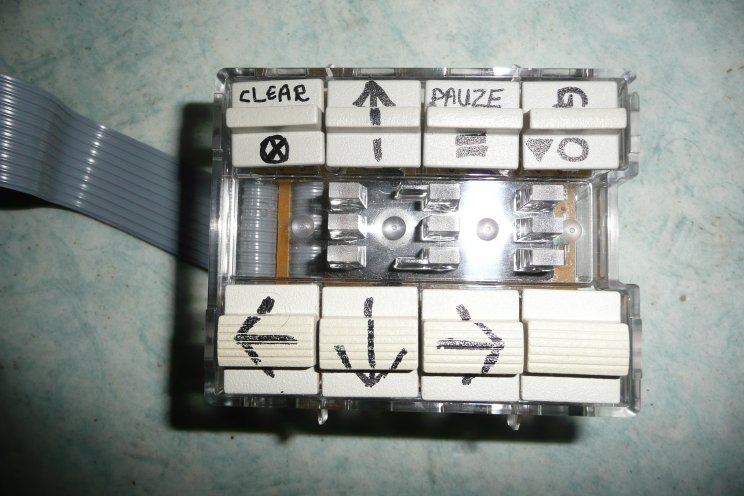
The parts used in this description are indicated on the part by: "HP 02276-80103C -54"
When removing the cover from the HP deskjet the user-interface module will look like this (neglect the handwritten letters on the buttons; they are for the next project).
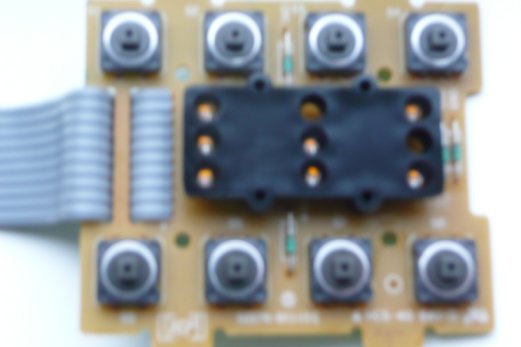
And when the plastic buttons are removed the follow PCB will be found:
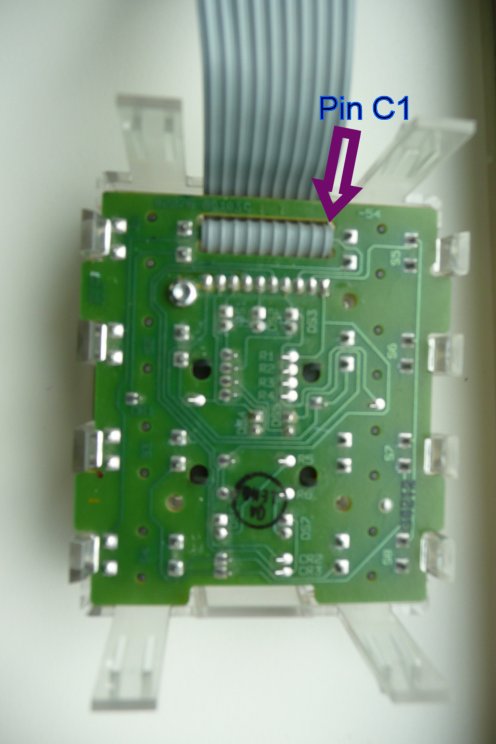
With on the baskside the numbering of the components (added an indication what I will call wire C1; required for the circuit diagram discussed in the next section).
Sadly I could not find the circuit diagram on the internet, so I had to draw it myself.
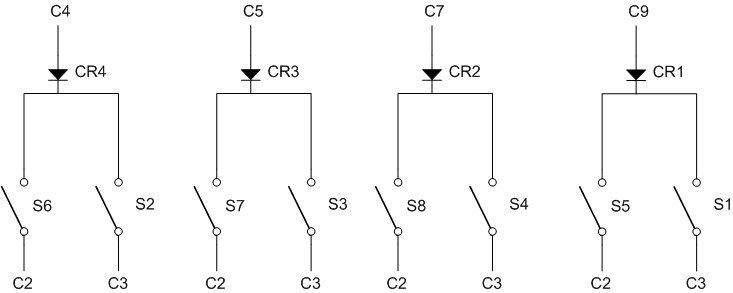
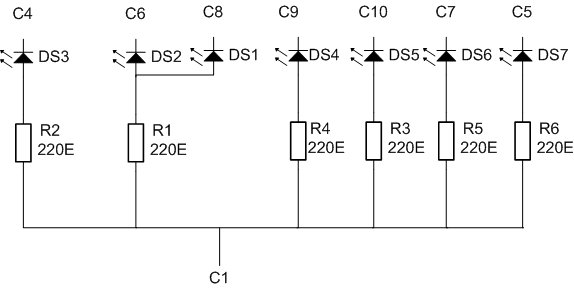
The C1...C10 are pins of the flatcable. See location of C1 in the last photo of the previous paragraph.
With the help of the circuit above it is now easy to write a code for the Arduino.

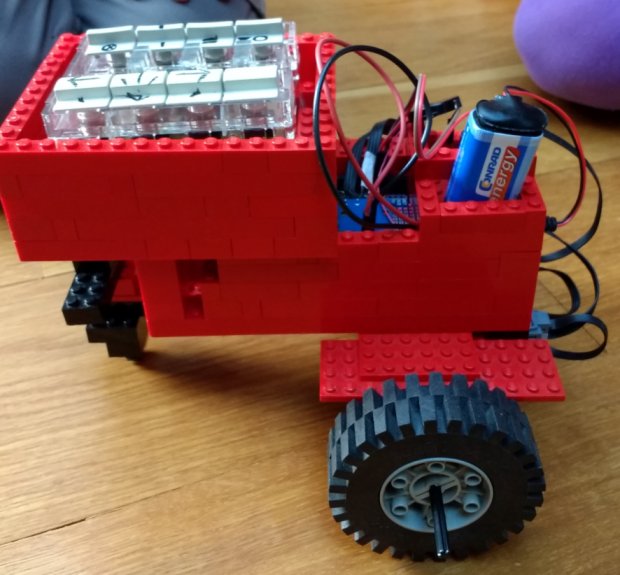
Below is a picture showing the HP keys being used to create a LEGO beebot.
This Web Page was Built with PageBreeze Free HTML Editor